The Clean the Moon packager is most useful once manual cleaning and selling are no longer your main bottlenecks. Build it as the handoff between collected Moon Dust and a Conveyor Belt, then feed a production line that has both Dust and Sand available. The goal is to reduce repeated carrying—not to skip the early Broom, Backpack, and selling upgrades.
When to build automation
Start with the Broom, container capacity, and a reliable first selling loop. Automation becomes a sensible investment when full containers force long trips between the moon surface and your base, or when moving material takes more time than collecting it. The exact machine prices, power draw, throughput, and best machine count are not documented well enough to give a safe current shopping list.
This order avoids a common trap: buying several machines before you can supply them. A small, supplied line is more useful than a larger line waiting for Dust, Sand, or electricity, so check the Power planning guide before expanding the machine count.
Packager and conveyor route
The Packager turns loose material into capsules and sends them along a Conveyor Belt. Use it as the logistics entry point rather than treating it as the complete factory.
Manual cleaning or collector → Packager → Conveyor Belt → processing machine → sale
For robot-fed material, the route begins differently:
J.O.O.N.A.S. capsule → Capsule Catcher → Conveyor Belt → processing machine
The Capsule Catcher is therefore important when using J.O.O.N.A.S.; the robot does not independently collect, process, and sell everything. Place the catcher, Packager, and machines before laying the final belts. Some base equipment cannot be moved easily, so a poor placement can permanently add travel distance.
A two-input Moonstone line
The most useful documented production decision is the Stone Press input balance. It needs Moon Dust and Sand at the same time, so do not build only a Dust route and assume the press will run.
| Step | Input | Output or action | Planning point |
|---|---|---|---|
| 1. Collect | Moon Dust | Send material to the Packager or collector | Keep the input route supplied |
| 2. Press | Moon Dust | Produce Sand in a Pressure Chamber | This is the second material source for the press |
| 3. Combine | 1 kg Moon Dust + 1 kg Sand | 2 kg Moonstone in a Stone Press | Balance both inputs before expanding |
| 4. Sell | Processed material | Take the output to the Lunar Dust Exchange | Reinvest only after the line is consistently supplied |
The recorded Stone Press recipe is 1 kg of Moon Dust plus 1 kg of Sand to produce 2 kg of Moonstone. This is a recipe and quantity guide, not a guaranteed profit calculation: current machine prices, power use, processing speed, and sale values can change. Video evidence places Sand at about three times Dust's sale price and Moonstone at about seven times Dust's price, but confirm the current value at the Lunar Dust Exchange before spending heavily.
Follow the Packager and Moonstone automation route
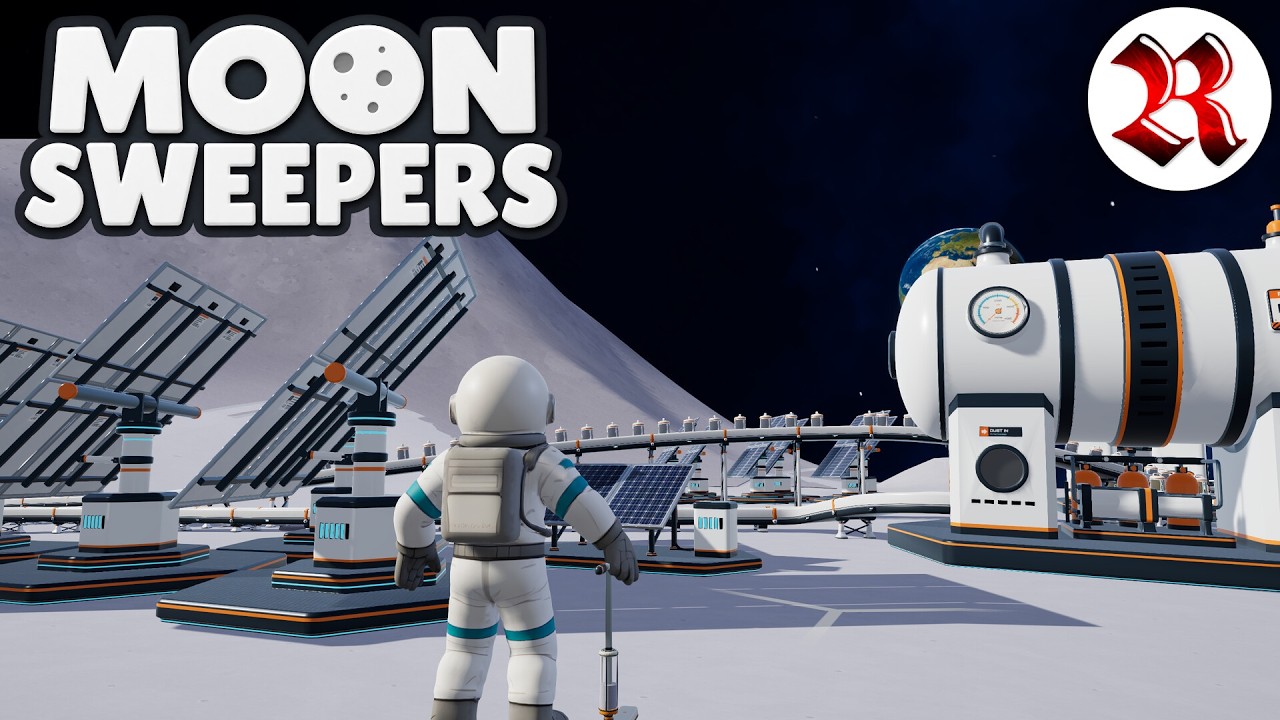
These linked moments show how the Packager routes dust into capsules and how the Pressure Chamber and Stone Press turn Dust and Sand into Moonstone.
Power and bottlenecks
Check the whole chain before adding another machine. Solar Tracker equipment supplies the line, while Battery capacity matters when production continues after daytime generation. A line that has enough panels for daytime but no night reserve can stop unexpectedly.
Use this troubleshooting order:
- No material reaches the Packager: collect more Dust or check that the collector and Packager are connected.
- Capsules stop on the belt: inspect belt direction, height, and the next machine's input.
- The Stone Press waits: supply both Dust and Sand; one full input is not enough.
- Machines stop at night: check total power demand and battery reserve before buying more equipment.
- Output backs up: sell or move processed material before adding another production machine.
Do not infer a target conveyor speed or exact machine ratio from the recipe alone. The available evidence does not establish current throughput numbers, so expand only after watching where your own line actually stalls.
Robots and version limits
J.O.O.N.A.S. is a later automation option that can send cleaning capsules toward a Capsule Catcher. Its price, unlock condition, operating behavior, and offline behavior have changed across versions, and one recorded playthrough says it does not keep working while the player is offline. Read the current in-game description before purchasing it.
The same caution applies to Robot Vacuum and the power system. Their exact differences and current requirements are not established by the supplied evidence. Treat the Packager, belts, two-input Stone Press route, and power checks as the stable planning concepts; treat exact costs and robot performance as version-dependent.
FAQ
Is the Packager worth buying first?
Not necessarily. Upgrade manual cleaning, capacity, and selling first. Buy the Packager when carrying material is the clear time cost and you can keep the next machine supplied.
Can I run a Stone Press with only Moon Dust?
No. The documented recipe requires 1 kg of Moon Dust and 1 kg of Sand for 2 kg of Moonstone.
Does automation work while I am offline?
Do not assume it does. Offline behavior is specifically uncertain for J.O.O.N.A.S., and the current game description is the safer authority.
SourcesReviewed October 31, 2026
https://cleanthemoon.wiki/automation/
https://cleanthemoon.wiki/packager/
https://cleanthemoon.wiki/depot/
https://www.cleanthemoonwiki.wiki/robots/Clean-the-Moon-cleaning-robot
The automation and Packager pages support the factory roles and capsule routing. The robot page supports the robot caveats. The 1 kg + 1 kg → 2 kg Stone Press recipe and the approximate sale-value comparisons are recorded in gameplay coverage; exact current prices, power draw, throughput, machine costs, and unlock requirements remain undocumented here.